Lava lamps are so much more than a light source and can mesmerise us for hours. Their continuous flow of glowing blobs and bubbles has fascinated people of all ages since they were invented in 1963 by Edward Craven Walker. Back then, the lava lamp was known as the “Astro Lamp” and soon became a fixture in many homes.
While lava lamps may hold a lot of aesthetic appeal, they also offer an exciting way to explore scientific concepts such as liquid density and reaction to temperature. In this article, we’ll explore the history and science of lava lamps and show you how to make your own at home. It’s one of many science experiments that you can recreate with objects around the house.
The Enchanting World of Lava Lamps
Lava lamps are quite simple in their design. A big blob of coloured wax is placed into a glass lamp filled with water. As the lamp is heated, it creates an otherworldly effect as the wax rises and falls in captivating, slow-moving blobs.
This effect is caused by the wax expanding and becoming less dense as it heats up, making it rise through the denser liquid surrounding it. As it reaches the top of the lamp it cools, contracts and sinks back down, creating a soothing and hypnotic effect.
Crafting Your Own DIY Lava Lamp
Creating a lava lamp at home is a simple yet engaging activity that can help bring these scientific principles to life. Here’s how you can get started:
Materials Needed:
- A clean, transparent plastic bottle or a tall glass
- Vegetable oil
- Water
- Food colouring
- Alka-Seltzer tablets (or any effervescent tablet that fizzes in water)
- A torch or a lamp (for extra visual effect)
Instructions:
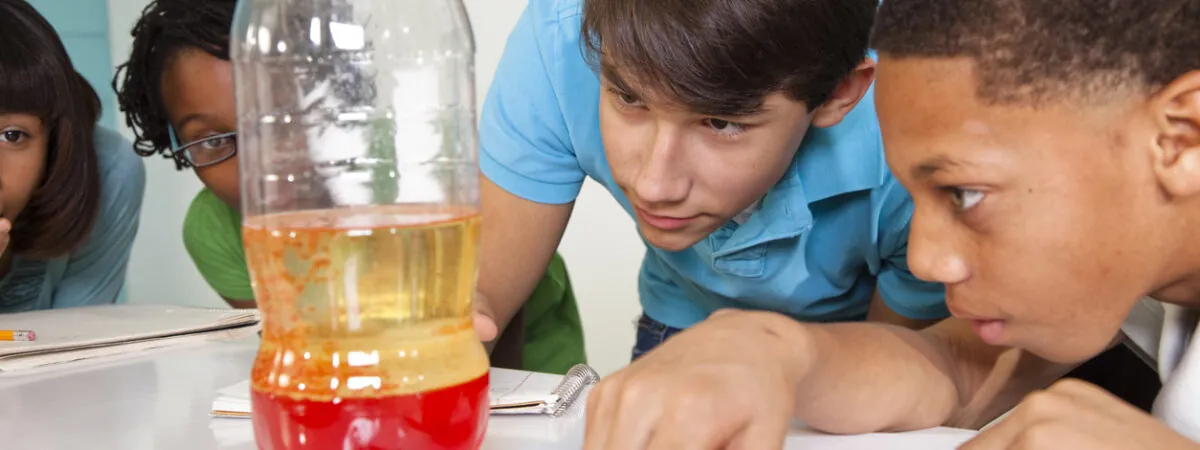
- Prepare the Bottle: Fill it about two-thirds full with vegetable oil. Then, add water until the bottle is almost full, leaving some space at the top. Notice how the water sinks to the bottom, showing it is denser than oil.
- Colour It: Add a few drops of food colouring. Since the food colouring is water-based, it will mix with the water beneath the oil.
- Activate the Fizz: Drop a piece of an Alka-Seltzer tablet into the bottle. As it dissolves, it releases gas, creating bubbles that carry the coloured water upwards in blobs, mimicking the wax in a commercial lava lamp.
- Illuminate: Place a torch under the base of the bottle or use a lamp to light it from below for a glowing effect.
Try These Extension Activities…
Temperature’s Effect on Reaction Rates
Activity: Perform the lava lamp experiment at various temperatures. Use ice water for one lamp and warm water for another, observing how temperature affects the rate of the reaction.
Objective: Discover how temperature influences the solubility of gases in liquids and the rate of chemical reactions, relating to kinetic molecular theory.
Density Gradient Experiment
Activity: Create multiple layers of liquids of different densities (e.g., honey, dish soap, water, vegetable oil, and rubbing alcohol) in a tall, clear container, adding food coloring to distinguish the layers. Drop various small objects (grape, cork, plastic bead, etc.) to see where they settle.
Objective: Visualise and understand how different densities affect the layering of materials and the buoyancy of objects placed in these layers.
The Perfect Blend of Learning and Fun
Building a DIY lava lamp offers a fantastic opportunity to engage with key scientific principles while creating something visually stunning. It’s a perfect science project for families, students, or anyone interested in science and crafting.
Looking for More Exciting Science Projects? At Tutor Doctor, we’re passionate about making learning fun and relevant through interactive projects and personalised tutoring. Our experienced tutors are ready to help explore the wonders of science in ways that spark curiosity and enthusiasm.
Find your local tutor and discover how we can support your educational journey with engaging science activities and beyond!


